

Author: Cat Cooley
Beaded Heart Keychains: Easy Valentine’s Crafts for Kids
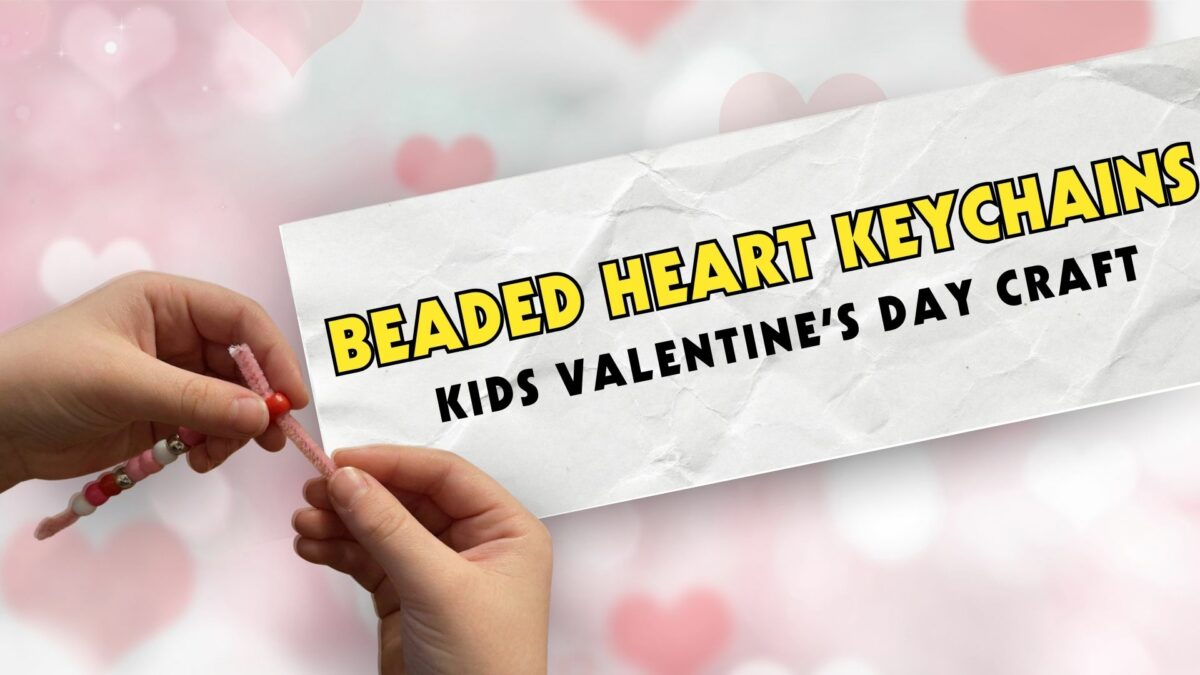
To kick off a Valentine project that is both simple and meaningful, beaded heart keychains are a perfect choice for families. At the same time, many parents struggle to find Valentine’s Day crafts for kids that are mess-free, affordable, and special enough for grandparents. By the end of this craft, your child will have a handmade gift that shows love in the sweetest way.
Parents often struggle to find Valentine’s Day crafts for kids that are simple, mess-free, and meaningful. Beaded heart keychains solve all three problems in one easy project.

How to Make Beaded Heart Keychains for Valentine’s Day
Kids love working with beads. This craft boost creativity, and it strengthens fine motor skills as kids slide each bead into place. By the time the heart shape forms, children feel proud of what they’ve created.
Supplies Needed
To keep crafting time stress-free, gather your materials before you start. You will need:
- Pony beads (red, pink, white, or metallic)
- Pipe cleaners
- Keychain rings or split rings
- Small bowls or trays for beads
- Scissors (adult use only)
Once everything is laid out, kids can jump right into designing without interruptions.
Step-by-Step Instructions for Beaded Heart Keychains
To move into the hands-on fun, have your child slide beads onto a pipe cleaner until it is nearly full. Next, help them bend the beaded pipe cleaner into a heart shape and twist the ends together at the bottom. After that, attach the twisted end to a keychain ring so it can clip easily onto keys or a backpack. By the time the last twist is done, your child will be holding a Valentine gift they can proudly share with a teacher, friend, parent, or grandparent.

Why Beaded Heart Keychains Are the Perfect Valentine Gift
As Valentine’s Day gets closer, handmade gifts start to mean more than anything bought in a store. These beaded heart keychains let kids turn their love into something personal that works for any relationship. And every time someone clips the keychain onto their bag or keys, they’ll think of the child who made it.
Conclusion
To wrap things up with a craft that creates real memories, beaded heart keychains are one of the best Valentine’s Day crafts for kids to try. Not only are they easy to make, but they also double as thoughtful gifts for teachers, friends, parents, and grandparents. In the end, this simple project turns beads and pipe cleaners into a gift filled with heart.

Make salt dough heart ornaments with your kids using simple supplies. This easy Valentine craft creates sweet handmade gifts for grandparents.
Salt Dough Heart Ornaments: Easy Valentine’s Craft for Kids
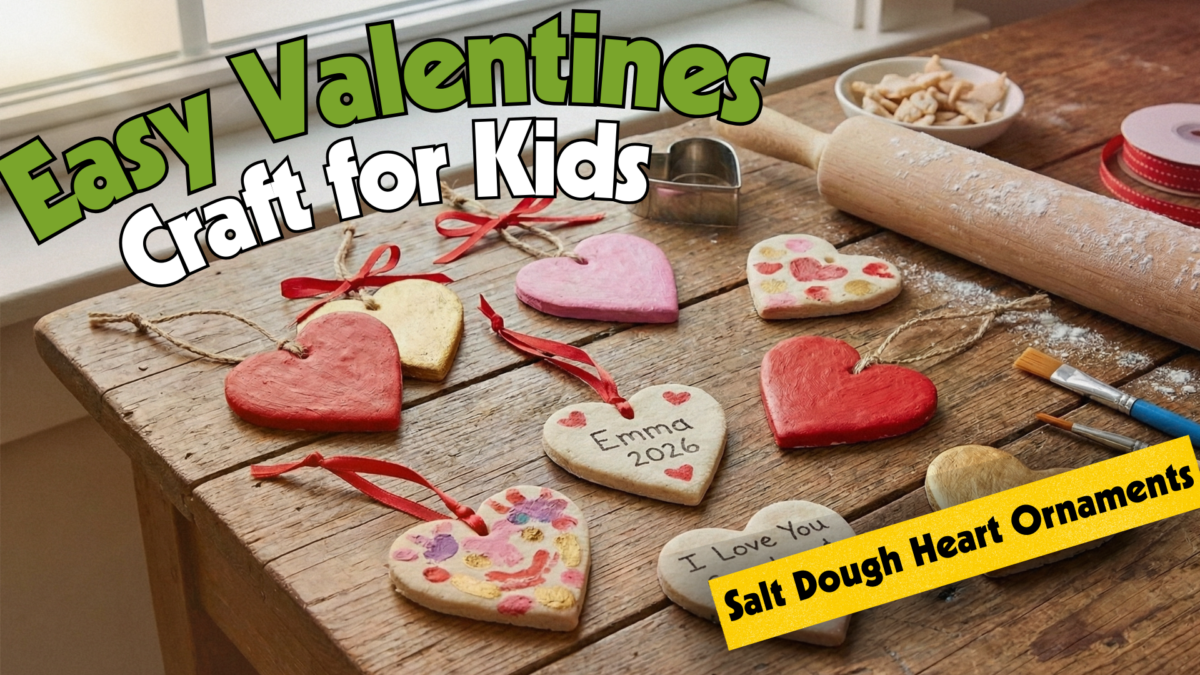
If you’re searching for a simple way to help your kids create something meaningful this Valentine’s Day, salt dough heart ornaments are the perfect solution. This easy kids Valentine craft turns basic pantry items into handmade Valentine gifts for grandparents that they will treasure. By the end of this post, you’ll be ready to start making your own salt dough heart ornaments at home.
Why Salt Dough Heart Ornaments Make Perfect Valentine Gifts
Homemade Valentine gifts for grandparents feel far more special than anything store-bought. These Valentine crafts for kids allow children to mix, shape, and paint their own creations while practicing fine motor skills. Once kids finish their first ornament, they usually want to make a whole collection.
Supplies for Salt Dough Heart Ornaments
Before you begin, gather the following supplies:
- 1 cup flour
- ½ cup salt
- ½ cup warm water
- Bowl and spoon
- Rolling pin or cup
- Heart cookie cutters
- Straw or pencil
- Baking sheet with parchment paper
- Acrylic or washable paint
- Paintbrushes
- Ribbon or twine
With everything laid out, making this easy kids Valentine craft becomes stress-free and fun.
How to Make Salt Dough for Heart Ornaments
Now that you’re ready, mix the flour and salt in a bowl and slowly add the warm water. Stir until a soft dough forms. If it feels sticky, sprinkle in a little flour. When the dough is smooth, it’s time to create your heart ornaments.
Cutting and Shaping Heart Ornaments
Once the dough is prepared, roll it to about ¼-inch thick and use heart cookie cutters to cut shapes. Use a straw or pencil to poke a hole at the top for hanging. After shaping, the hearts are ready for baking.
Baking Salt Dough Heart Ornaments
After all the hearts are cut, place them on a parchment-lined baking sheet and bake at 200°F for 2–3 hours, flipping halfway through. Let them cool completely. When they’re dry and firm, your kids can start decorating.

Painting and Decorating Valentine Heart Ornaments
Once the ornaments are cool, kids can paint them using Valentine colors or any designs they love. Write names, dates, or sweet notes to turn these into homemade Valentine gifts for grandparents. After the paint dries, the ornaments instantly become keepsakes.
Turning Salt Dough Hearts into Hanging Ornaments
To finish up, thread ribbon or twine through the holes and tie a knot. These heart ornaments kids craft can be hung on doors, windows, or gift bags. Add a light coat of clear sealer (optional) if you want them to last for years. With that final touch, your Valentine craft is complete.
Conclusion
In the end, salt dough heart ornaments are a wonderful way to celebrate love, creativity, and family. This easy kids Valentine craft costs almost nothing but creates priceless memories. Once you make these together, they’ll likely become part of your Valentine tradition year after year.

Create a DIY Lava Lamp for Kids with simple ingredients. A fun, hands-on science activity that teaches while sparking curiosity!
Winter Crafts for Kids: Easy Owl Paper Plate Activity
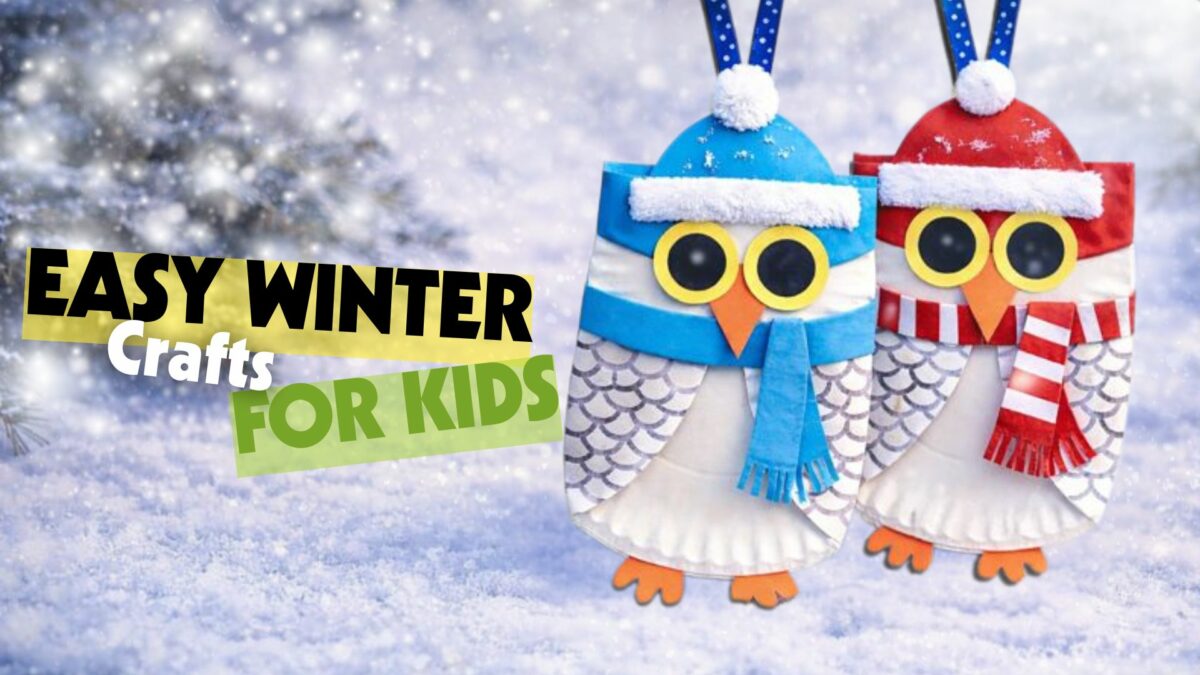
When cold weather keeps everyone indoors, winter crafts for kids become the perfect way to keep them happy, creative, and occupied. This Owl Paper Plate Craft is an easy, budget-friendly activity that turns simple supplies into an adorable winter decoration. Kids love choosing colors, adding feathers, and giving their owls big personalities—all while staying entertained during the busy winter season.
Before we get started, let’s take a closer look at why this craft works so well: it’s quick to set up, fun for all ages, and creates a cute keepsake kids will be excited to display.

Supplies
- Uncoated, Basic Paper plates
- Acrylic Paint Construction paper
- Scissors
- Ribbon for hanging
- Hot or Tacky Glue
Directions
Now that you’ve gathered your supplies, it’s time to help your kids create their own colorful winter owls. These steps are simple enough for little hands to follow, but they still give plenty of room for creativity.
- Paint the Paper Plate – Start by painting the entire front of the paper plate using acrylic paint. Choose classic winter colors like blue, white, or gray—or let kids get creative with fun patterns.
- Cut Out Owl Features – While the plate dries, use construction paper to cut out two large eyes, a small triangle beak, and feather shapes for the wings. Older kids can cut their own pieces, while younger ones may need a little help.
- Assemble the Face – Once the paint is dry, glue the eyes and beak onto the top half of the plate. Encourage kids to place the features however they like—silly, serious, surprised, or sleepy!
- Attach the Wings – Glue the construction paper wings to the sides of the plate. Kids can angle them upward, downward, or out to the sides depending on the look they want.
- Add Ribbon for Hanging – Flip the plate over and glue a loop of ribbon near the top. This makes the owl easy to hang on a wall, door, or bulletin board.
- Personalize the Owl – If kids want to add extra details—like eyebrows, patterns, or even glitter—this is the perfect time to let them customize their little winter friend.
Once all the pieces are attached, your child will have their very own owl decoration ready to display proudly.
Conclusion
With your paper plate owls complete, your kids will feel proud of the winter-themed artwork they created, and you’ll enjoy a peaceful moment knowing they were happily occupied. This craft is simple, charming, and perfect for cold days when everyone needs a little creative break.
As you wrap up the activity, hang the owls somewhere special or let the kids gift them to family members. These small handmade decorations often become cherished winter keepsakes.
And just like that, you’ve turned a few basic supplies into a fun memory-making moment—proof that winter days can be just as magical indoors as they are outside.

Recycled winter crafts for kids made easy with DIY Mini Nutcrackers using toilet paper rolls. A fun, affordable holiday craft for home or school!