

Category: Educational
Best Board Games for 4-6 Year Olds: Fun & Educational Picks
To begin with, choosing the right board games for 4 to 6 year olds can make a big difference in how kids experience playtime. At this age, children are learning how to follow rules, take turns, and stay focused for short periods of time. Because of that, the best games combine simple instructions, bright visuals, and quick rounds that keep kids engaged without frustration.
Board games for 4 to 6 year olds help build early learning skills like coordination, patience, communication, and problem-solving. Games designed for this age group focus on pictures instead of reading, hands-on play instead of long setups, and fun over competition. With that in mind, let’s look at some of the best options families love.

Zingo! – Early Reading and Matching Skills
To start with a favorite, Zingo! is a fast-paced matching game that feels like bingo for kids. Players slide a tile dispenser and race to match pictures and words on their boards. By the end of each round, kids stay excited while practicing focus and quick decision-making.
Why it’s great for ages 4–6:
Zingo! supports early reading, word recognition, and visual matching, making it one of the most educational board games for 4 to 6 year olds without feeling like schoolwork.

Don’t Break the Ice – Fine Motor and Turn-Taking Skills
Next, Don’t Break the Ice adds suspense and laughter to every turn. Kids carefully tap out ice blocks while trying not to make the penguin fall. As the game moves along, children learn patience and self-control.
Why it’s great for ages 4–6:
The simple rules and physical action help kids strengthen hand-eye coordination while learning how to take turns and handle anticipation.

Yeti in My Spaghetti – Focus and Coordination
Moving on to a silly favorite, Yeti in My Spaghetti challenges players to remove noodles without dropping the yeti. The tension builds with each move, and laughter usually follows. By the final turn, kids are fully invested.
Why it’s great for ages 4–6:
This game builds fine motor skills, concentration, and careful movement, which makes it a strong choice among board games for 4 to 6 year olds who love hands-on play.

Candy Land – Color Recognition and Simple Rules
When it comes to classic board games, Candy Land remains a go-to for young kids. Players move along a colorful path using cards instead of numbers or reading. As the game comes to an end, kids feel confident playing independently.
Why it’s great for ages 4–6:
With no reading required, Candy Land is perfect for preschool and kindergarten kids who are still learning basic game mechanics.

Sequence for Kids – Beginner Strategy and Pattern Recognition
Shifting toward light strategy, Sequence for Kids introduces simple planning through animal matching. Players try to make rows on the board by placing pieces in the right spots. By the final move, kids feel proud of thinking ahead.
Why it’s great for ages 4–6:
This game encourages problem-solving and pattern recognition while keeping the rules easy to understand.

Bingo Games for Kids – Listening and Visual Scanning
For a flexible family option, kid-friendly bingo games use pictures and themes that appeal to young players. Children listen, scan their boards, and match images as they play. As each round wraps up, kids stay focused without feeling overwhelmed.
Why it’s great for ages 4–6:
Bingo helps improve listening skills, attention, and patience, making it a reliable option when choosing board games for 4 to 6 year olds.
Bluey-Themed Games – Cause and Effect Through Play
Finally, Bluey-themed board games bring familiar characters into simple, interactive gameplay. Whether it’s a pop-up surprise or a scavenger-style activity, kids connect instantly. By the end of the game, even reluctant players are asking for another round.
Why it’s great for ages 4–6:
Familiar characters help kids stay engaged while learning cause-and-effect, cooperation, and social play.
What to Look for in Board Games for 4 to 6 Year Olds
Before choosing a game, it helps to know what works best for this age group. The most successful board games for 4 to 6 year olds usually include:
- Simple rules with visual instructions
- Playtime that lasts 10–20 minutes
- Opportunities for turn-taking and patience
- Activities that support motor skills or early learning
- Fun gameplay even when kids don’t win
Keeping these features in mind makes game night smoother and more enjoyable for everyone.
Conclusion
In conclusion, the best board games for 4 to 6 year olds are designed to be fun, approachable, and developmentally supportive. Games like Zingo!, Candy Land, and Yeti in My Spaghetti help kids learn important skills such as focus, coordination, and cooperation—without pressure. As you build your family game collection, choosing age-appropriate board games ensures playtime stays engaging, educational, and full of laughter.

Discover the best board games for kids ages 6-13! These fun and educational games build skills like teamwork, strategy, and problem-solving.
Science Experiments for Kids: Fizzy Confetti Eruptions at Home
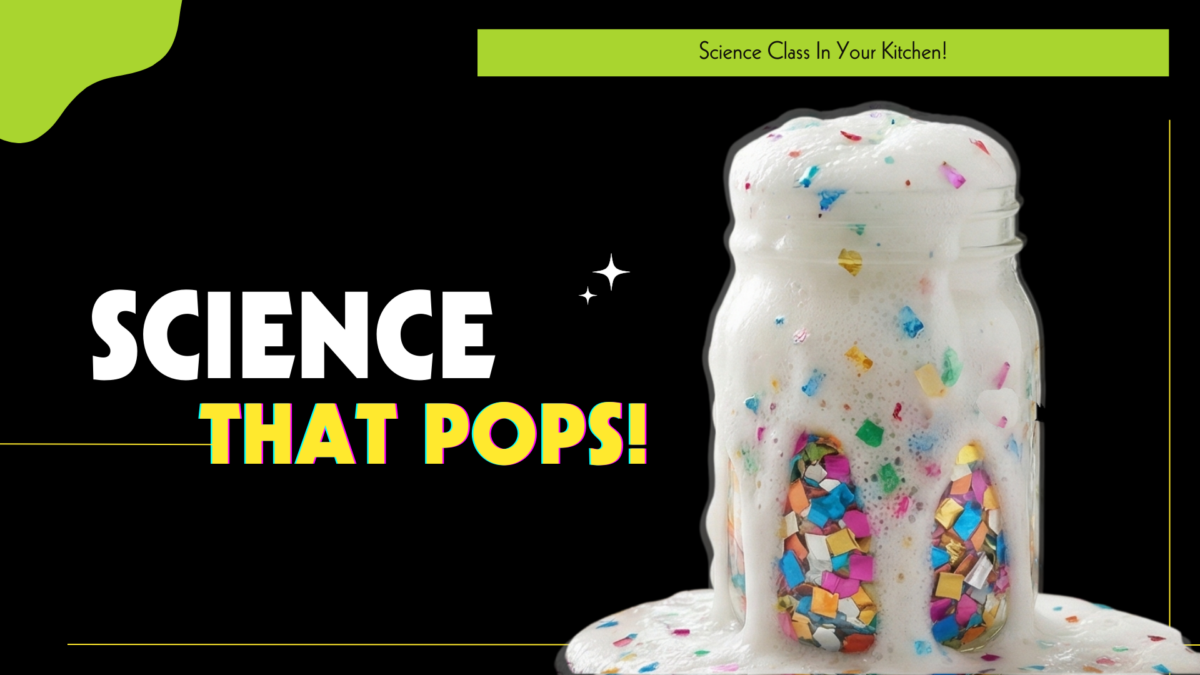
To start things off, if you are looking for science experiments for kids at home that are fun, colorful, and easy to set up, Fizzy Confetti Eruptions is the perfect activity. This baking soda and vinegar experiment turns your kitchen into a mini science lab while keeping kids entertained for a long time. By the end of this activity, your child will feel like a real scientist.

Why This Is One of the Best Science Experiments for Kids at Home
To begin with, kids love this activity because it feels more like a celebration than a lesson. When the bubbles lift the confetti into the air, it creates a fun surprise every time. This simple chemistry experiment also keeps kids curious and asking questions. As a result, it is one of the most memorable easy science experiments for kids you can do.
Baking Soda and Vinegar Experiment Supplies
Before you get started, gather these items so the fun never stops:
- Baking soda (2–3 tablespoons)
- White vinegar (½ cup)
- Confetti
- Food coloring (optional)
- Clear cup or jar
- Spoon or funnel
- Paper towels
Once your supplies are ready, you can move straight into setup.
How to Set Up This Easy Science Experiment for Kids
- Place your cup or jar on a tray or inside a baking dish.
- Add 2–3 tablespoons of baking soda into the container.
- Sprinkle in a pinch of confetti.
- (Optional) Add a few drops of food coloring on top of the baking soda.
- Pour ½ cup vinegar into the cup.
- Step back and watch the bubbly confetti explosion!
The Chemistry Behind Baking Soda and Vinegar
Now that the excitement has started, it is time to explain the science in a simple way. Baking soda is a base and vinegar is an acid. When they mix, they create carbon dioxide gas, which makes the bubbles. The gas pushes the liquid and confetti upward. With this explanation, kids start to understand how chemistry works in real life.
Simple STEM Activities to Try Next
Once your child understands the basics, change the experiment to keep learning going. Use tall cups, wide bowls, or add more baking soda to see what happens. This helps turn one project into many fun STEM activities for elementary kids. After a few rounds, kids will begin predicting their own results.
More Fun Science Experiments for Kids at Home
In the end, this baking soda and vinegar experiment is one of the best science experiments for kids at home because it mixes learning with excitement. It works great for rainy days, birthday fun, or anytime kids need a wow-factor. When the last bubble fades, your kitchen will be full of smiles, curiosity, and a love for science.

Create colorful fizzing fun with sensory activities for kids! Hide treasures in baking soda rocks and explore science through play.
DIY Lava Lamp for Kids: At Home Science Fun
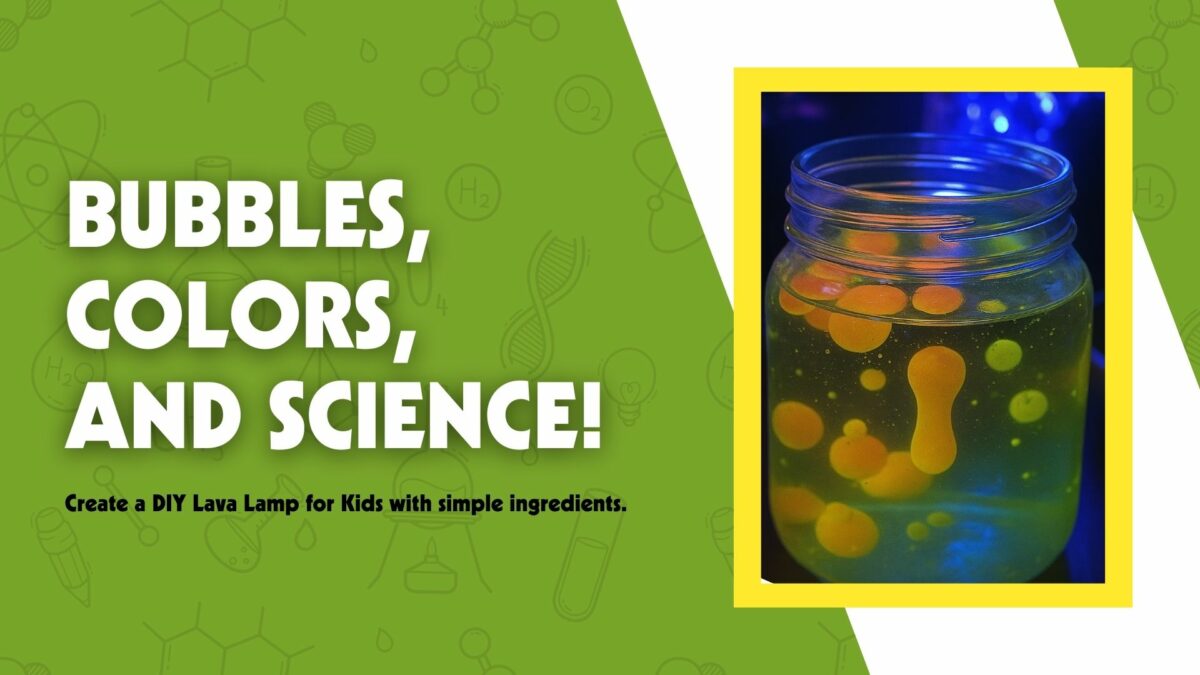
Get ready to make your very own DIY Lava Lamp for Kids! With just a few simple supplies, you can create a jar that bubbles, swirls, and moves like magic. This fun experiment is safe, easy, and super cool to watch.
Not only will you get to enjoy the colorful bubbles floating up and down, but you’ll also learn a little science along the way. It’s a mix of fun and learning all in one!
Are you ready to watch your homemade lava lamp come to life? Let’s get started!

Ingredients:
Here’s what you’ll need to light up the night with a glow jar.
- Clear glass or plastic jar with a lid (mason jars are ideal)
- Warm water
- Vegetable oil (canola, sunflower, or similar)
- Glow-in-the-dark paint (washable and non-toxic is best)
- Food coloring (optional, for color enhancement)
- Fork or toothpick (for stirring and breaking up paint droplets)
- Small bowl (for mixing oil and glow paint)
- Optional: Blacklight (to amplify the glow effect)

Directions:
Get ready for a science show in a jar!
- 1. Fill the Jar
- Start by filling your jar about three-quarters full with warm water. The warmth of the water helps the paint droplets spread and “explode” more easily once they enter the liquid.
- Make sure not to use boiling water—just warm enough to slightly enhance the fluidity and movement of the glow paint once it is added.
- 2. Mix the Glow Paint with Oil
- In a small mixing bowl, combine 2 to 3 tablespoons of vegetable oil with a few small drops of glow-in-the-dark paint. If you want to add more color to your show, include a couple of drops of food coloring.
- Use a fork or toothpick to gently stir the mixture. You’ll notice that the glow paint breaks up into tiny droplets suspended in the oil. This separation is key to creating the visual effect.
- Avoid mixing too vigorously—what you want are small globules, not a fully blended mixture.
- 3. Combine the Mixtures
- Carefully pour the oil and glow paint mixture into the jar of warm water. The oil will float on the surface of the water, and over time, the droplets of paint will slowly descend.
- As they sink, they’ll begin to burst and swirl into tendrils of glowing color. This moment is the highlight—the glowing droplets imitate fireworks in slow motion, gently unfolding beneath the water’s surface.
- 4. Observe the Display
- Turn off the lights or dim them significantly. If your paint has been charged by light beforehand, it will emit a soft, glowing light as it moves through the water.
- 5. Recharge and Reuse
- As the glow fades over time, simply recharge the paint by placing the jar under a strong light source such as a lamp or in direct sunlight for a few minutes. The glow will return when the lights go off again.
This eye-catching experiment introduces kids to liquid density and immiscible substances—while also looking seriously cool.
The Science That Makes It
When you do this experiment, you’re not just making something pretty—you’re also doing science! Here’s what’s going on inside your jar:
Floating and Sinking
Oil is lighter than water, so it always floats on top. The glow paint is heavier than oil but not as heavy as water. That’s why the paint hangs in the middle for a bit before slowly sinking down, making the “fireworks” effect.
Why Oil and Water Don’t Mix
Water and oil are like kids who don’t want to hold hands. They’re just too different! Because of this, the paint droplets don’t mix in. Instead, they stay separate and move through the water slowly, which makes them fun to watch.
How the Glow Works
Glow-in-the-dark paint has tiny special bits inside called phosphors. These bits soak up light like a sponge. Later, when it gets dark, they let the light out slowly, which is why the paint glows. If you shine a flashlight or blacklight on the jar first, it glows even brighter!
Learning Opportunities for Kids
This experiment can easily become an engaging teaching tool both at home and in the classroom. Consider trying these approaches:
- Science Journaling: Encourage kids to sketch their jar before and after the glowing display, describing the changes they observe.
- Making Predictions: Before starting, ask, “What do you think will happen when we add this mixture to the water?”
- Cause and Effect: Talk about why the droplets sank or what influenced the brightness of the glow.
- Vocabulary Growth: Introduce words like phosphorescence, density, immiscible, and molecule.
To deepen the lesson, you could pair this experiment with a short book or discussion on light, color, or the science of glowing objects.
Wrapping Up Your DIY Lava Lamp for Kids
You did it—you made your very own lava lamp! 🎉 Watching the bubbles rise and fall is not only fun but also shows you a little bit of science in action.
Remember, your DIY Lava Lamp for Kids is more than just a cool project. It’s a way to explore how liquids work together, how reactions happen, and how science can be just as exciting as playtime.
So the next time you want a fun activity on a rainy afternoon, a science fair idea, or just something amazing to show your friends, you’ll know exactly what to do—make another lava lamp and let the fun bubble up again!

Keep kids active and smiling with Easter games for kids! Try fun ideas like egg hunts, silly races, and hands-on holiday challenges.